
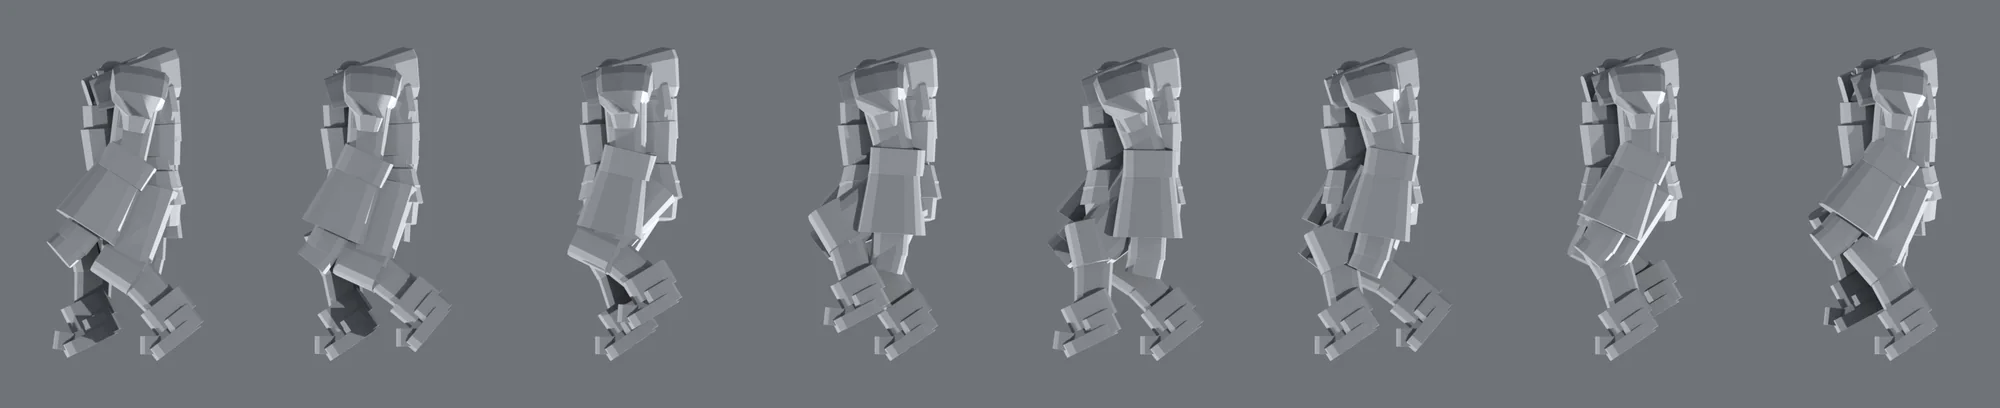
A giant machine can cross a screen in slow motion and still feel weightless. That was the problem with an early Wanderhull walk study: the silhouette and scale were coming together, but the machine placed its feet too politely. We shared the 36-second clip before the gait was finished and asked two game-development communities what they would change.
The response went far beyond a few animation tips. Screenshots of our post insights showed roughly 386,000 views in r/IndieDev and 251,000 in r/SoloDevelopment: more than 600,000 combined post views, not 600,000 different people. Hundreds of comments gave us references, arguments and a sharper way to describe the problem. This is what we took from them, plus a practical way to apply those lessons to large-character movement in Blender and Unity.
“You are not walking, you are landscaping.”
WaveOfWire in r/IndieDev
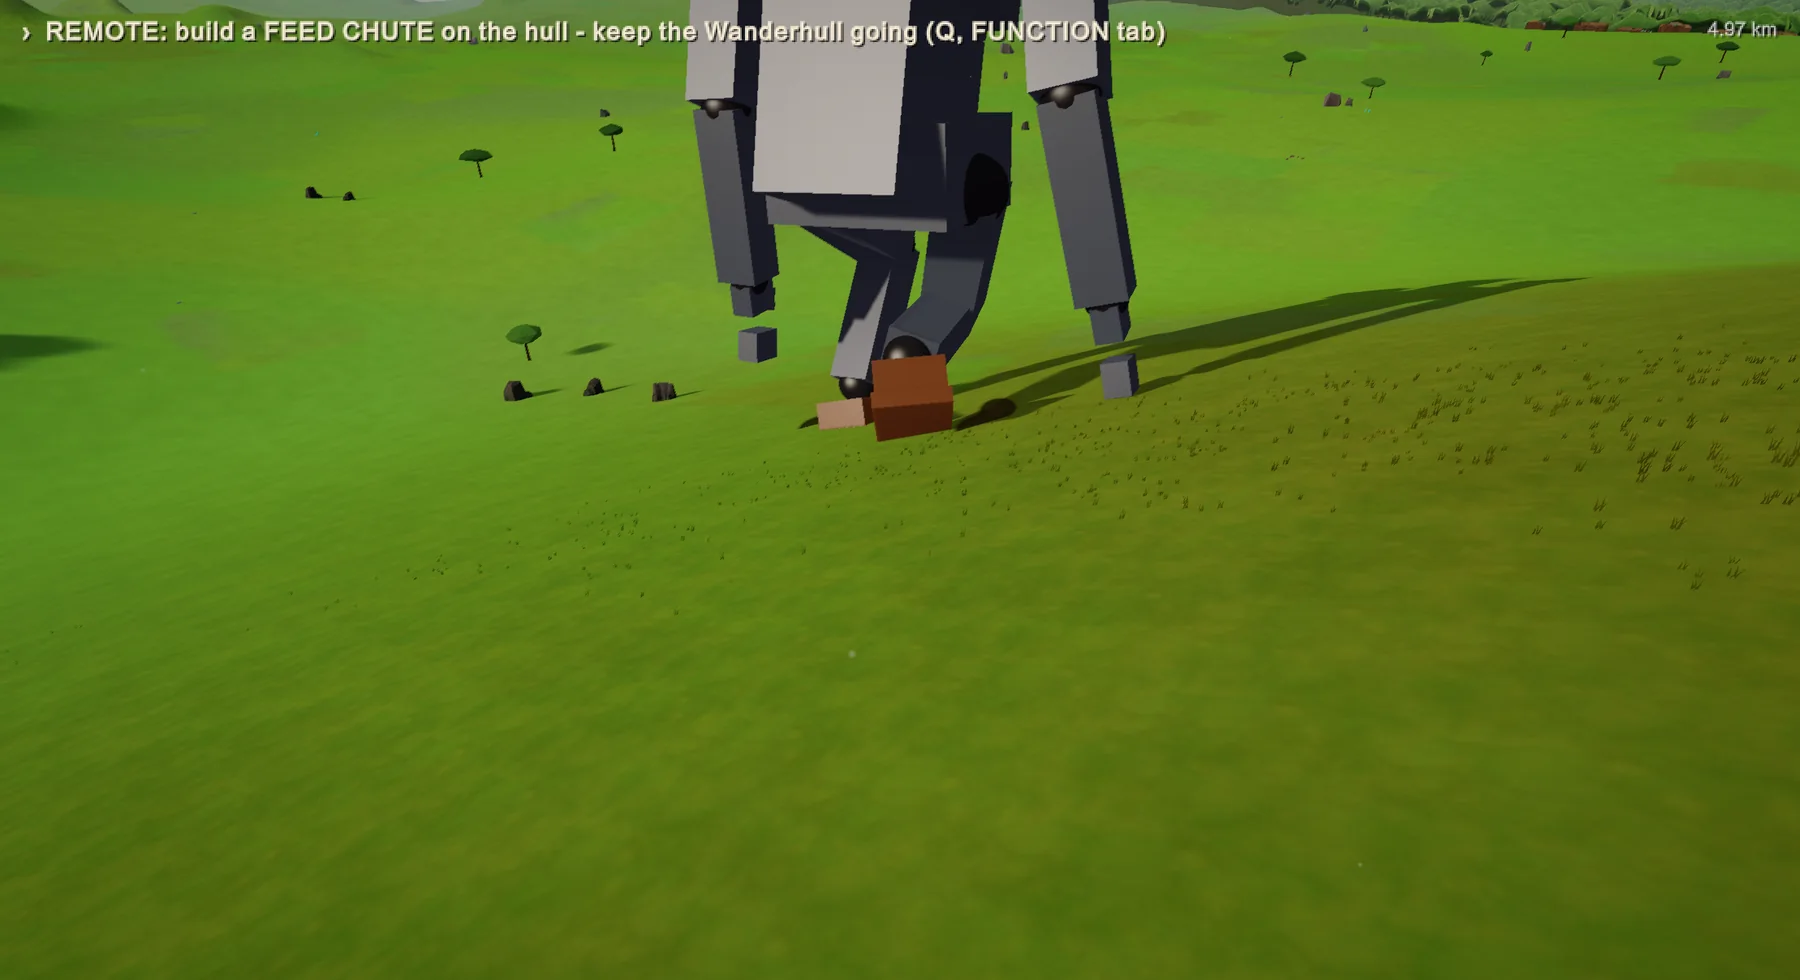
Before the walk: the rough playable prototype
This early in-game capture shows how plainly the project began: placeholder pieces, a bare landscape and a player-sized view of the machine. It was already useful because we could test the relationship between the person, the ground and the moving base before the mech had a finished surface.
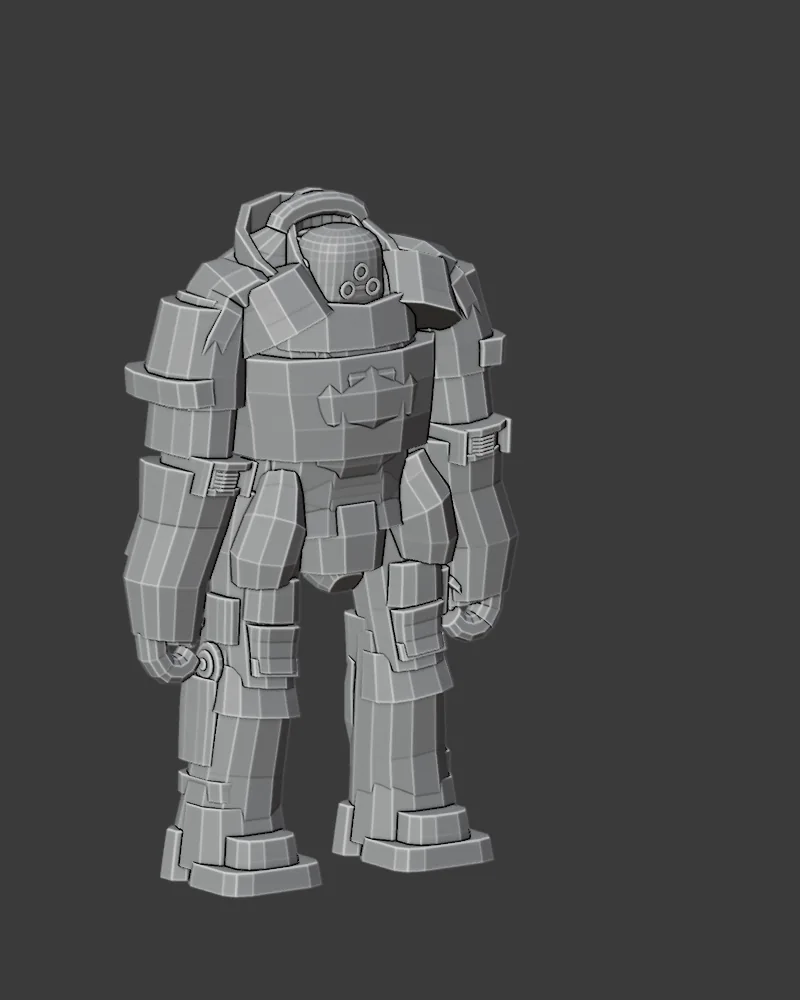
Giving the machine a shape
The untextured model study is another step in that history. It gave us recognisable armour, joints and a silhouette to animate, while leaving open the harder question the Reddit clips exposed: how should all of that structure react when a foot takes the load?
1. Start with balance, not a slower human walk
A useful first pass is to mark the support foot, the moving foot and the body’s path across one stride. Where is the machine’s weight before the rear foot lifts? When does the leading foot begin to catch it? The torso cannot drift forward at one constant rate while the legs perform a separate, decorative cycle.
Commenters including Arteqt and CryptoCrash87 pointed to the forward weight shift and the moment the next step arrests it. For Wanderhull, that suggests blocking a planted phase, a loaded lift, a swing, a catch and a short recovery before polishing the joints. It also gives climbing players a cadence they can learn. This is an animation and gameplay target, not a claim that a 100-foot biped has been physically simulated.
2. Let the footfall travel through the machine
Redcrux described the breakthrough in the second thread: the foot stops, but the rest of the machine still has momentum. Animate contact as a sequence. Plant the sole, let the ankle and knee take load, let the hip and torso settle a beat later, then let smaller armour pieces and hanging parts finish moving. A little compression and recovery reads more clearly than turning the entire model into a single bouncing object.
That was the repeated theme across both posts: make the mechanism visibly absorb and transfer weight. We can test the timing in silhouette first, with effects switched off. If the step only feels heavy after adding dust and camera shake, the underlying pose and contact probably need another pass.
“each body part has inertia”
Redcrux in r/SoloDevelopment
3. Choose the descent instead of blindly adding a stomp
The comments disagreed here, and that is useful. Several people wanted a slow, effortful lift followed by a much sharper descent and a firm stop. Others warned that a sudden downward snap makes a huge machine look light or reckless. Educational-Band9569 put the counterargument neatly: “Stomping really hard is not the same as being heavy.”
So we are treating timing as a test, not a formula. We can compare a controlled foot placement against a more forceful catch, then watch each at ground level, from a distance and from the player’s base. The same rig may need a careful cruising gait and a harsher step when terrain or urgency changes. In either version, contact must be readable and the mass must take time to settle.
4. Let the world answer the step
A footfall needs a consequence at the right scale. PoorSquirrrel suggested ground compression; others asked for dust, loose debris, vibration and sound. The response should depend on the surface: a footprint and displaced sand are different from a hard strike on rock. Nearby objects, a person at ground level and the delay between visible contact and the low impact sound can all help establish distance and size.
The useful order is contact first, then terrain, then sound and camera response. We want each layer to support the walk, not conceal it. A continuous dust explosion or full-screen shake on every step would quickly become noise.
5. Design for the person living on its back
Wanderhull is a survival base-builder. The player climbs the machine and spends time building and travelling on it. That changes the answer to the usual “add more camera shake” advice. A dramatic ground-level view can make a step frightening; hours of the same jolt at the player’s building station would make the game exhausting.
Bonzie_57 suggested that the machine itself absorb much of the impact before it reaches the top. That is a useful design principle even if the final mechanism is stylised. We can give the ground observer the deep footfall and visible dust, while the rider reads the stride through a gentler, predictable sway, moving fixtures and audio. It preserves the sense of mass without making routine play a motion-sickness test.
A practical giant-mech walk workflow in Blender
Start with the contact poses, not surface detail. Mark one foot as planted, shift the body over that support, lift and swing the other foot, then give the new contact a short settling phase. Animate the feet and body as separate controls so the planted foot stays still while the torso moves past it. Check the silhouette from the side and from a human-height camera before adding dust or shake.
Use Blender’s Graph Editor to shape the timing between those poses. A long, effortful transfer followed by a definite catch can read as mass, but a sudden stop everywhere at once reads as a rigid toy. Offset the ankle, knee, hip, torso and loose parts by small amounts so the impact travels through the machine. An IK control for each leg can make the contact poses easier to place; constrain joint directions so the mechanism does not bend through itself. These are starting points to test against your particular rig, not universal frame counts or physics values.
Bringing the walk into Unity without sliding feet
Once the clip is imported, compare the mech’s actual travel distance with the distance its planted feet imply. In Unity, decide whether the clip’s root motion or your movement controller drives forward travel, then tune stride and speed together. A mismatch creates foot sliding even when the poses look right. For a non-humanoid rig, inspect which transform Unity uses as the root-motion source rather than assuming the mesh root is correct.
Use a Two Bone IK constraint to guide a foot toward a ground target during the planted part of the stride, and blend its weight down as that foot releases. IK can correct contact on uneven terrain; it cannot invent weight transfer missing from the animation. Place the footfall sound and terrain effect at the actual contact frame, for example with an Animation Event, then test the result at several speeds and on different surfaces. Finally, test the view from wherever the player stands: Wanderhull’s rider needs a calmer response than someone watching the mech from the ground.
Troubleshooting a giant walk that still feels weightless
If the feet slide, turn off IK briefly and compare the clip's root travel with the distance the body moves in game. If a planted foot drifts only after IK returns, check when its target starts moving or its constraint weight fades. If the foot sticks but the mech still floats, inspect the torso path: is there a visible transfer onto the support leg and a short settle after contact?
If impact only reads with dust and camera shake enabled, hide those effects and repair the pose and delayed joint response first. If the motion looks heavy from ground level but unpleasant from the playable base, separate the ground observer's impact feedback from the rider's sway. Test a loop at one speed, a start and stop, and one uneven surface; record each from the side, the ground and the rider's position. Change one layer at a time so you can tell what actually fixed the problem.
References, and what to look for
Readers pointed us toward Pacific Rim, Shadow of the Colossus and The Iron Giant. We are studying those for different reasons: how a low camera and familiar objects establish scale; how secondary movement follows a giant body; and how a character’s movement can feel deliberate without simply running a human walk cycle at half speed. They are visual references, not a blueprint for Wanderhull’s mechanics.
One of the most useful real-machine references shared in the thread was footage of a walking excavator. The commenter drew attention to how its suspension changes under load. It gives us a specific question to take back to the animation: which parts visibly carry each step? We are looking at the relationship between mechanism and motion, while keeping Wanderhull’s design and the needs of its playable base distinct.
What we are taking into the next pass
The practical checklist is now clear: establish the support and catch phases; give each foot a definite plant; let compression move from ankle to torso; add restrained movement to armour and fixtures; respond to each terrain type; and test from the ground, at a distance and on the player’s base. We will compare the gentler and harder descent rather than pretend the comments settled that question for us.
The bigger lesson was about when to ask. We could have polished the same walk in private for weeks. Showing a rough study early exposed the missing weight transfer and the conflict between spectacle and comfort while both were still cheap to change. Thank you to everyone who spent time giving specific, sometimes opposing feedback. An update on how we are responding to the comments, including the next walk pass, is coming soon.